Showing posts with label pickles. Show all posts

October 28, 2011

A new addiction - Cowboy Candy

You may have heard of these, they are all the rage in the Canning world this yr. I had never heard of them tho. A canning group I hang out in was always talking about these and saying how incredible they are. Now I like pickled jalapeños so I couldn't figure out why these would be much different. But I kept seeing people raving about them and saying how great they are on sandwiches and burgers. Some would serve cream cheese or goat cheese on crackers and top them with this.

I kept seeing this over and over wherever any one mentioned these things tho so I figured I was missing out on something. I HAD to make some. OMG I'm so glad I did!!! I finally opened a jar tonight. We weren't that hungry so we were just going to have some cheese burgers off the grill here. I make a sauce of ketchup and mayo , sort of a Mickey Ds sauce. And then I sat down to eat and thought, hmmmmm I wonder how those jalapeños would be with this. My bf  never had them before either. He looked skeptical at the jar. And then he saw me try one and I said OMGGGG these are soooo good and I started to pile them on my burger. He tried it and agreed and did the same.

However I was bad. I only made 4oz jars but I kept eating them with the burger and on the burger and half the jar is gone now lol. I did buy more jalapeños tho to make another batch. Ive mentioned these before and friends were already asking me to send them some even tho I didn't know how they tasted. I just knew they were pickled, garlic, sweet jalapeños. Sounded like a nice combo.

When you make this recipe you will end up with a couple extra jars of syrup. Ive read its good brushed on chicken and steaks and things when you grill. I did that with my first batch. This time Ive decided to make this recipe with 5lbs. of jalapeños so Ill have full jars of them and no extra syrup. And I'm going to use fresh finely chopped garlic for more garlic flavor. And I'm going to can pts. of these too. Here's the recipe if you feel adventurous,,,trust me its worth it and  you will NOT be disappointed. 


COWBOY CANDY
  • 3 - 5 pounds Firm, Fresh Jalapeno Peppers, Washed
  • 2 cups Cider Vinegar
  • 6 cups White Granulated Sugar
  • ½ teaspoons Turmeric
  • ½ teaspoons Celery Seed
  • 3 teaspoons Granulated Garlic (or 3 or so tsp. fresh minced garlic)
  • 1 teaspoon Ground Cayenne Pepper
The easiest way to slice these is to hold the stem end of the pepper and cut slices from the tip to the stem end. You should probably wear gloves too.  Slice the peppers into uniform 1/8-1/4 inch rounds. If you like lots of heat you can use them like this. I washed mine in a colander and then scooped out the peppers, leaving whatever seeds fell out, in the colander. I still had seeds in the peppers tho. The more seeds, the more heat you will get. Doing it this way I had a nice bite but not so much that you were running for a drink. Set aside.
In a large pot, bring cider vinegar, white sugar, turmeric, celery seed, granulated garlic and cayenne pepper to a boil. Reduce heat and simmer for 5 minutes. Add the pepper slices and simmer for exactly 4 minutes. Use a slotted spoon to transfer the peppers, loading into clean, sterile canning jars to within 1/4 inch of the upper rim of the jar. Turn heat up under the pot with the syrup and bring to a full rolling boil. Boil hard for 6 minutes.

Use a ladle to pour the boiling syrup into the jars over the jalapeno slices. Insert a cooking chopstick to the bottom of the jar two or three times to release any trapped pockets of air. Adjust the level of the syrup if necessary. Wipe the rims of the jars with a clean, damp paper towel and fix on new, two-piece lids to finger-tip tightness.
If you do not want to can these to the point of shelf stable, you can simply put the jars in your refrigerator and store them there.I dont like to clutter the fridge up with all this extra stuff so I can mine.  If you wish to can them, follow the instructions below.

Note: If you have leftover syrup, and it is likely that you will, you may can it in half-pint or pint jars, too. It’s wonderful brushed on meat on the grill or added to potato salad … don’t toss it out! I got 8 half pt. jars and 4 jars of syrup. I dont want that next time so Ill use pt. jars for all and hopefully wont have extra syrup.

To can, place jars in a canner and cover with water by 2-inches. Bring the water to a full rolling boil. When it reaches a full rolling boil, set the timer for 10 minutes for half-pints or 15 minutes for pints. When timer goes off, use canning tongs to transfer the jars to a cooling rack. Leave them to cool, undisturbed, for 24 hours. When fully cooled, wipe them with a clean, damp washcloth, then label.
Allow to mellow for at least two weeks, but preferably a month before eating.

August 16, 2010

Bread and Butter Pickles

 Ive made this on and off thru the years, they are pretty good.

BREAD AND BUTTER PICKLES

8lbs. cucumbers
2lbs. white onions
1/2c. salt (I used coarse kosher salt)
1 qt. white vinegar
2c. sugar ( I used organic)
2 tsp. celery seed
2 tsp. turmeric
1 tsp. dry mustard

Cut unpeeled cucumbers and peeled onions into slices about 1/8in. thick. 

Arrange in layers in a large kettle or bowl, sprinkling each layer with salt.

 Let stand for 3hrs. then drain and rinse well.

 Bring other ingredients to a boil in a large pot. 

Add drained vegetables and stir to coat with seasonings. Bring to a boil again.Pack into hot, sterilized jars and seal.

 Process in water bath 10min.

I didn't make the full recipe this time..........I only had 5lbs of cukes but I did make the full amt of juice for it and used it all. Also be aware turmeric stains everything so if you spill the juices wipe it up fast.

August 05, 2010

Cold Pack Dill Pickles

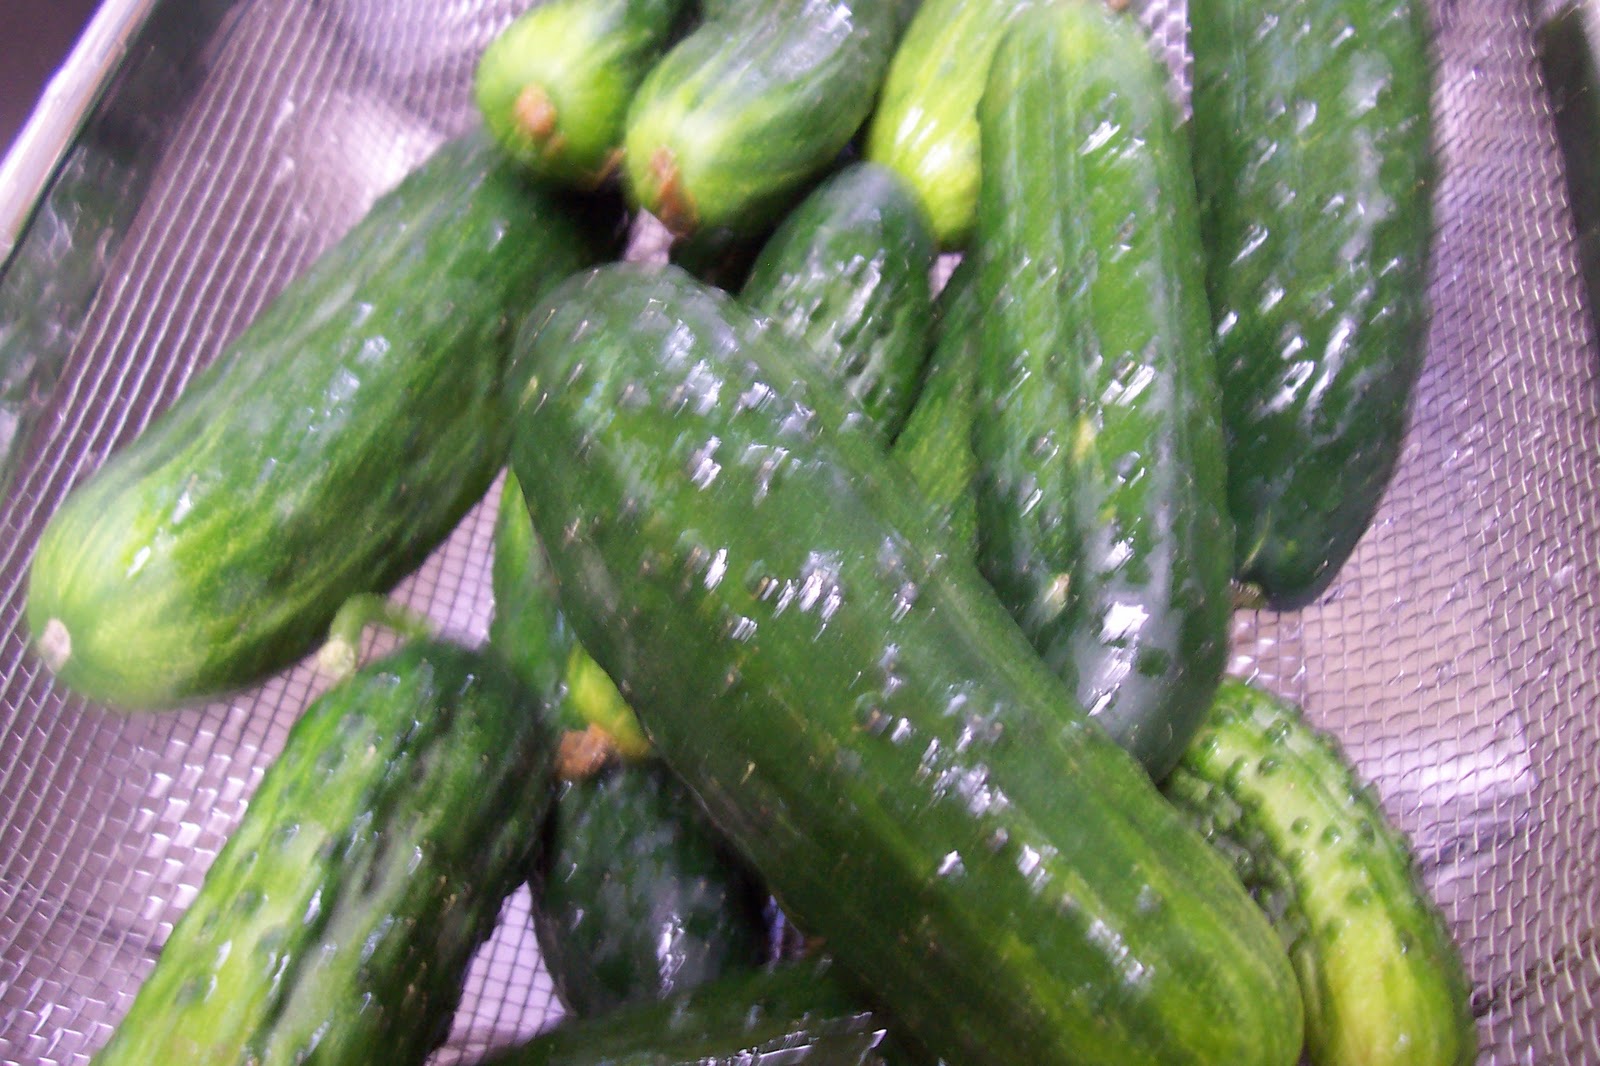
I went to the farmers market on Sunday and found a guy who had pickling cukes for $1 lb. Since I haven't seen any yet, anywhere I thought that was a decent price and bought 4lbs. So finally yesterday I was able to get to making them. I had fresh dill growing out on my back porch in a pot. It was 4ft. high and full of flower heads, so it was perfect to use. I cut a bunch and prepared to make these. It takes about 6wks in a jar once processed so we will see just how good these turn out. If you want to try tho.....here's the recipe.
Cold Pack Dill Pickles

Prepare the cucumbers by removing 1/16 inch from the blossom end of each. You need to remove that tiny little sliver because there is an enzyme that remains in the blossom end of cucumbers which will cause your pickles to become soft while in storage. Cut into halves or quarters as you wish.

Wash your jars, lids and bands in good, hot soapy water. Rinse them well making sure all traces of soap are removed. Set the bands aside. Place the lids in barely simmering water and leave them there until they are needed later in the process. Fill the canner with water and and bring it to the boil. I like to put my jars in the canner and let them heat up along with the water. Some people hold them in a 200 degree oven. I also will sometimes just wash them and keep them filled with hot water till ready to use. You always want to fill hot jars. Putting hot food in a cold jar can cause breakage. Putting a cold jar of food into boiling water is just asking for it too. 

Adjust the amounts according to the number of quarts you’re making. I like to  make these pickles in quart jars so that I can keep the cucumber halves intact. If using pints, you’d need to cut the halves across and use only half the amounts I give for each jar.

Cucumbers, pickling type
Pickling salt
Vinegar, 5% acidity
Water
Dill seed or fresh dill heads
Black peppercorns
Garlic

For each quart of pickles, bring 1 cup water and 1 cup vinegar to the boil.


Meanwhile, in each jar place 1 tablespoon plus 1 teaspoon pickling salt, 1 tablespoon dill seed (or 3 heads fresh dill), 6 black peppercorns and 2 halved garlic cloves. Note that each dill head counts as a teaspoon of dill seed.

Pack the halved or quartered cucumbers into the hot jars. Using a canning funnel, pour the boiling vinegar and water solution over the jar contents leaving 1/2 inch of headspace (the space between the top of the liquid and the top of the jar).
Wipe the top rim of each jar carefully with a dampened paper towel. This is to make sure that there is nothing on there which would prevent the lid from forming a complete seal. Place the lids on top of the jars and screw on the rings until just finger tight. Don’t force the rings or tighten too much. The jars have to be able to expel air during the canning process in order to create the seal.

Place the jars in the canner rack and lower them into the simmering hot water. Make sure jars are covered with 1-2 in. of water. If not, add hot water and bring to a boil before beginning timing. Place the cover on the pot. Process in simmering hot water (180-185 degrees) for 15 minutes (low temp pasteurization method).

Store the jars in a dark, cool place. I recommend six weeks of standing time for the flavors to fully develop.

***NOTE: I also added a pinch of red pepper flakes to each jar.

August 07, 2007

HUNGARIAN SUMMER PICKLES BY THE QUART

I remember my gramma making these in the summer with cucumbers from her garden. You do need garden cukes, the store ones are waxed to preserve them. Sometimes stores will carry pickling cukes tho. If you see those and dont grow your own thats what you need to buy to make these.


HUNGARIAN PICKLES BY THE QUART

1 Quart 3- to 5-inch Pickling Cucumbers
1 Tablespoon Pickling Salt
2 Tablespoons White or Red Wine Vinegar
1 Fresh Head and 1 Frond of Dill
4 Cloves Garlic, thinly sliced
About 2 cups water

1. Insert a sharp knife near one end and slit the cucumbers through lengthwise, leaving both ends intact. Put the salt, vinegar, dill and garlic into a narrow-mouth quart jar. Pack the cucumbers into the jar so they won't float, leaving 1 inch head space. Cover the cucumbers with water. Cap the jar with a nonreactive lid and give it a shake to dissolve the salt. After the salt has dissolved, loosen the lid so that gases can escape. Place the jar outdoors in the sun or in a sunny window (put a dish under it if seeping brine might do some damage). If you set the jar outdoors, bring it in at night.

2. Within 3 days you should see tiny bubbles rising in the jar; this means that fermentation has begun. The pickles should be ready within 5 days, when the tiny bubbles have stopped rising. Chill them, and enjoy. They will keep in the refrigerator for many weeks.

***pickling salt = canning salt = canning and pickling salt
Notes: This is similar to table salt, but lacks the iodine and anti-caking additives that turn pickles dark and the pickling liquid cloudy. Pickles made with table salt would still be good to eat, but they wouldn't look as appetizing. Pickling salt is available in large bags or boxes in supermarkets, but it's hard to find in cities. In addition to pickling or canning with it, you can also use pickling salt just as you would ordinary table salt, though without the anti-caking agents it may get lumpy if exposed to moisture.

To prevent lumps, put a few grains of rice in your salt shaker. To get rid of lumps, spread the salt on a cookie sheet and bake in an oven. Don't substitute reduced-sodium salt for pickling salt when making pickles. Substitutes: kosher salt (Since it's not as dense as pickling salt, you'll need to use more, but how much more varies by brand. 1 cup + 2 tablespoons of Morton KosherSalt = 1 cup Morton Canning & Pickling Salt. For other brands, it's best to measure by weight rather than volume.) OR table salt (The iodine in table salt may turn your pickles dark, and the anti-caking agents may turn the pickling liquid cloudy.)